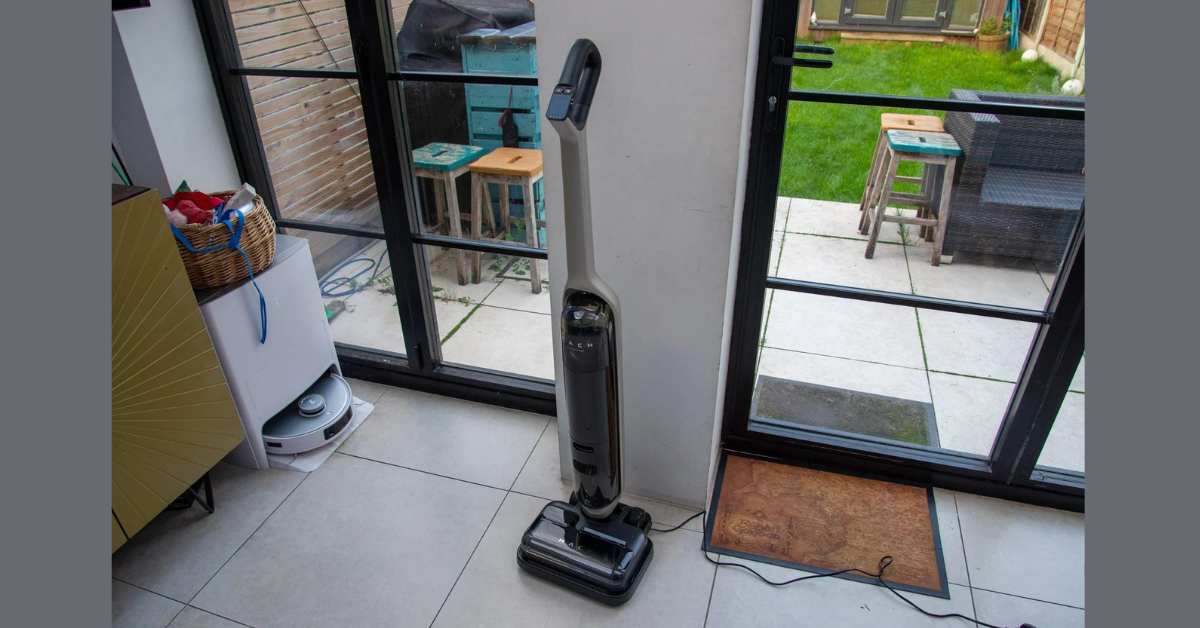
Your doormat, the unsung hero of your home’s entrance, takes a beating. Rain, mud, and countless shoes track in grime, leaving your once welcoming mat looking worse for wear. But fear not, weary homeowner! This guide unlocks the secrets of How to Clean Door MatsHow to Clean Door Mats
Forget harsh chemicals and back-breaking scrubbing. We’ll guide you through simple, material-specific methods to tackle coir, rubber, nylon, and even vinyl mats. Weekly shakes, monthly deep cleans, and seasonal spruce-ups will keep your doormat trapping dirt, not harboring it.
Uncover hidden gems like the magic of baking soda for odor control, discover pro tips for stubborn stains, and learn when to call in the cleaning cavalry.
Ready to transform your doormat from an eyesore to an entrance-enhancing marvel? Dive in and let’s conquer the dirt together!
Know Your Enemy: Different Types, Different Needs
Before diving into cleaning methods, identify your opponent. The most common doormat materials include:
- Coir: These natural fiber mats excel at scraping off dirt but need specific care.
- Rubber: Durable and weatherproof, these mats benefit from regular hosing down.
- Nylon/Polypropylene: Versatile and machine-washable, these mats offer ease of maintenance.
- Vinyl: Mopping and light scrubbing” Replaces with “mopped and gently scrubbed.
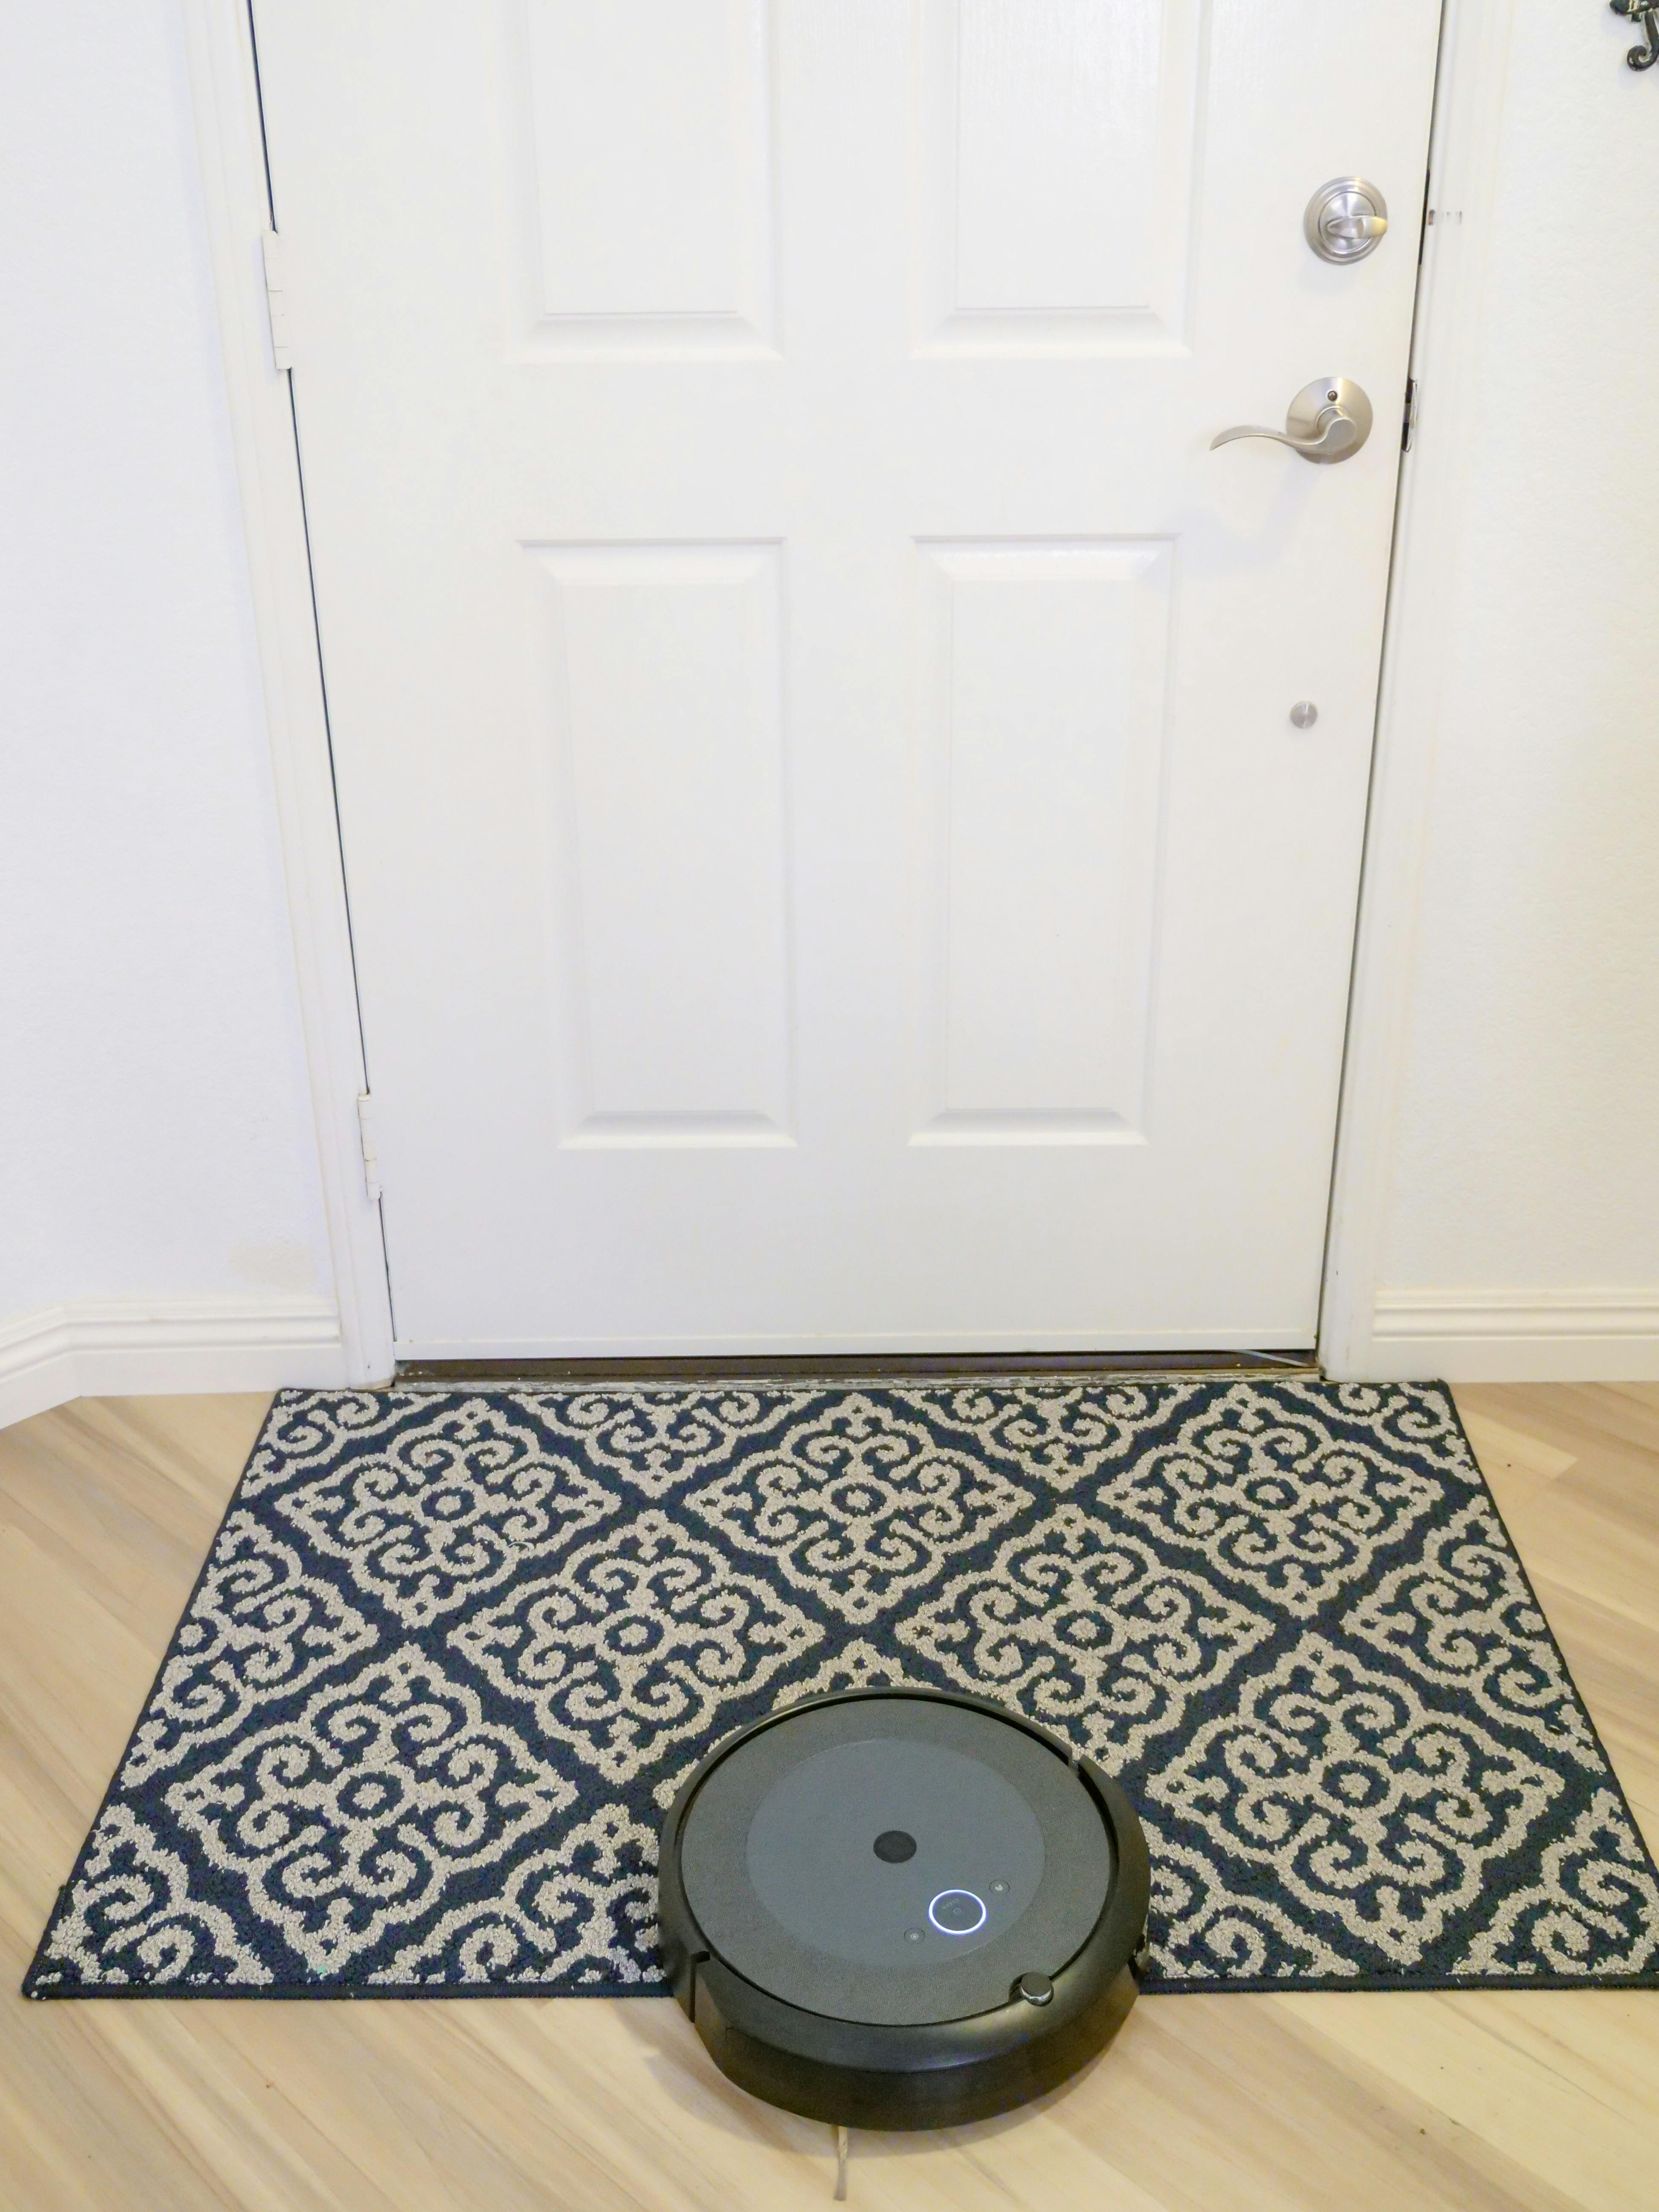
The Weekly Ritual: Keeping Dirt at Bay
- Shaking the Blues Away: Unleash your inner child! Grab your doormat and give it a good wiggle and jiggle outside to send all the loose dirt packing. A good whack against a railing or fence can help release stubborn particles.
- Vacuum Time: Did you know Hidden Dirt loves to party in the corners? Time to crash their bash with your vacuum!
- Spot Treatment for Stains: For spills or tracked-in mud, address them promptly. Start by vigorously shaking your mat outdoors to dislodge loose dirt and debris. A good whack against a railing or fence can help release stubborn particles.
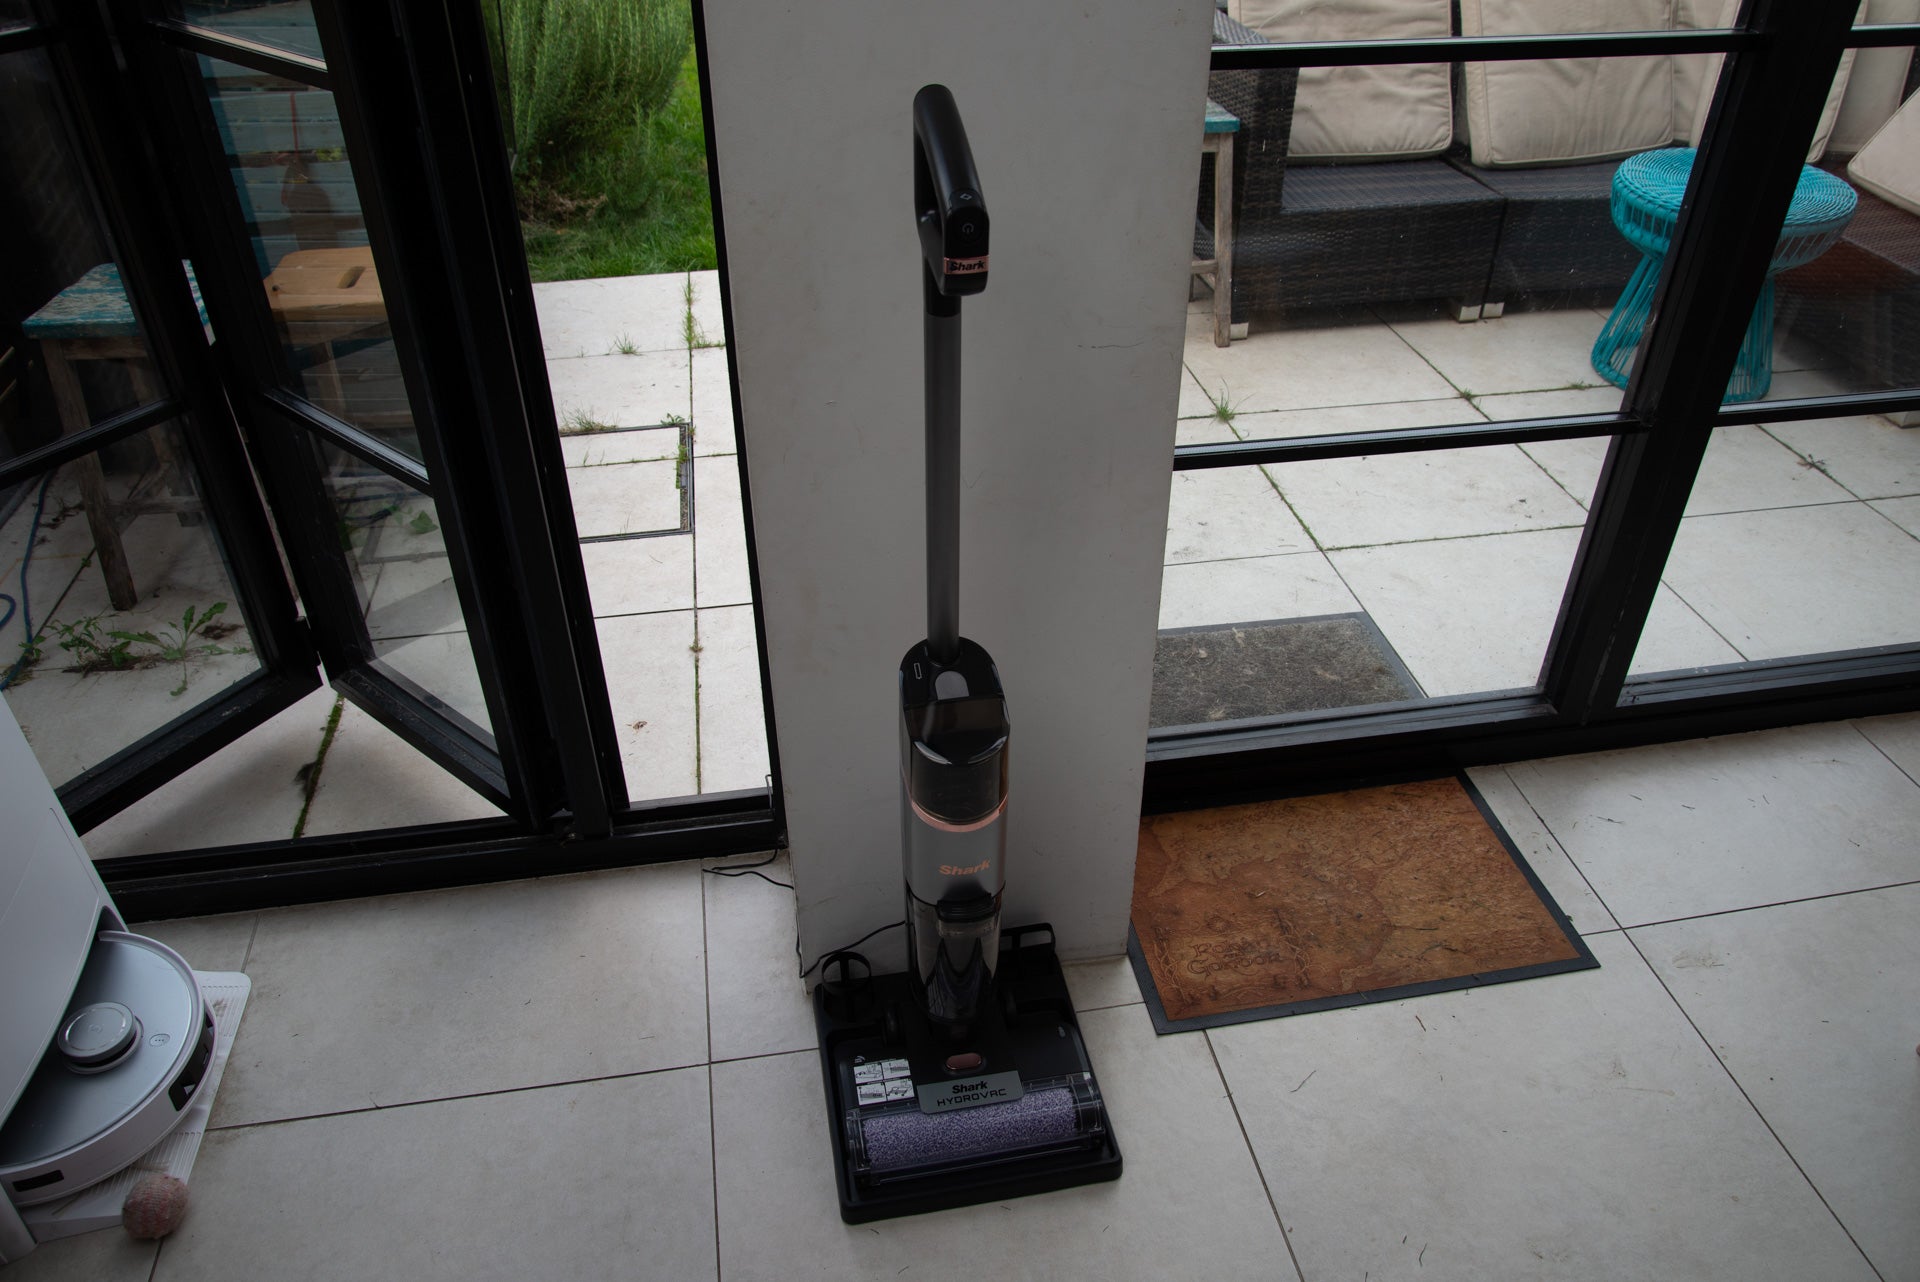
The Monthly Deep Clean: For a Fresh Start
- Rubber Warriors: Hose down your rubber mat with a strong jet of water to remove caked-on dirt. For stubborn grime, use a mild dish soap solution and a stiff brush. Rinse thoroughly and air dry completely.
- Coir Care: Mix equal parts water and white vinegar in a bucket. Dip a stiff brush in the solution and scrub the mat, focusing on stained areas. Rinse well and allow to dry flat in a shaded area. Avoid excessive water as it can damage the natural fibers.
- Nylon and Poly Friends: Check the care label for machine washability. If permissible, toss your mat in the washer with mild detergent on a gentle cycle. Air dry completely before placing it back.
- Vinyl Victors: Mop your vinyl mat with a solution of warm water and dish soap. For deeper cleaning, use a commercial vinyl cleaner and follow the instructions. Rinse thoroughly and allow to air dry.
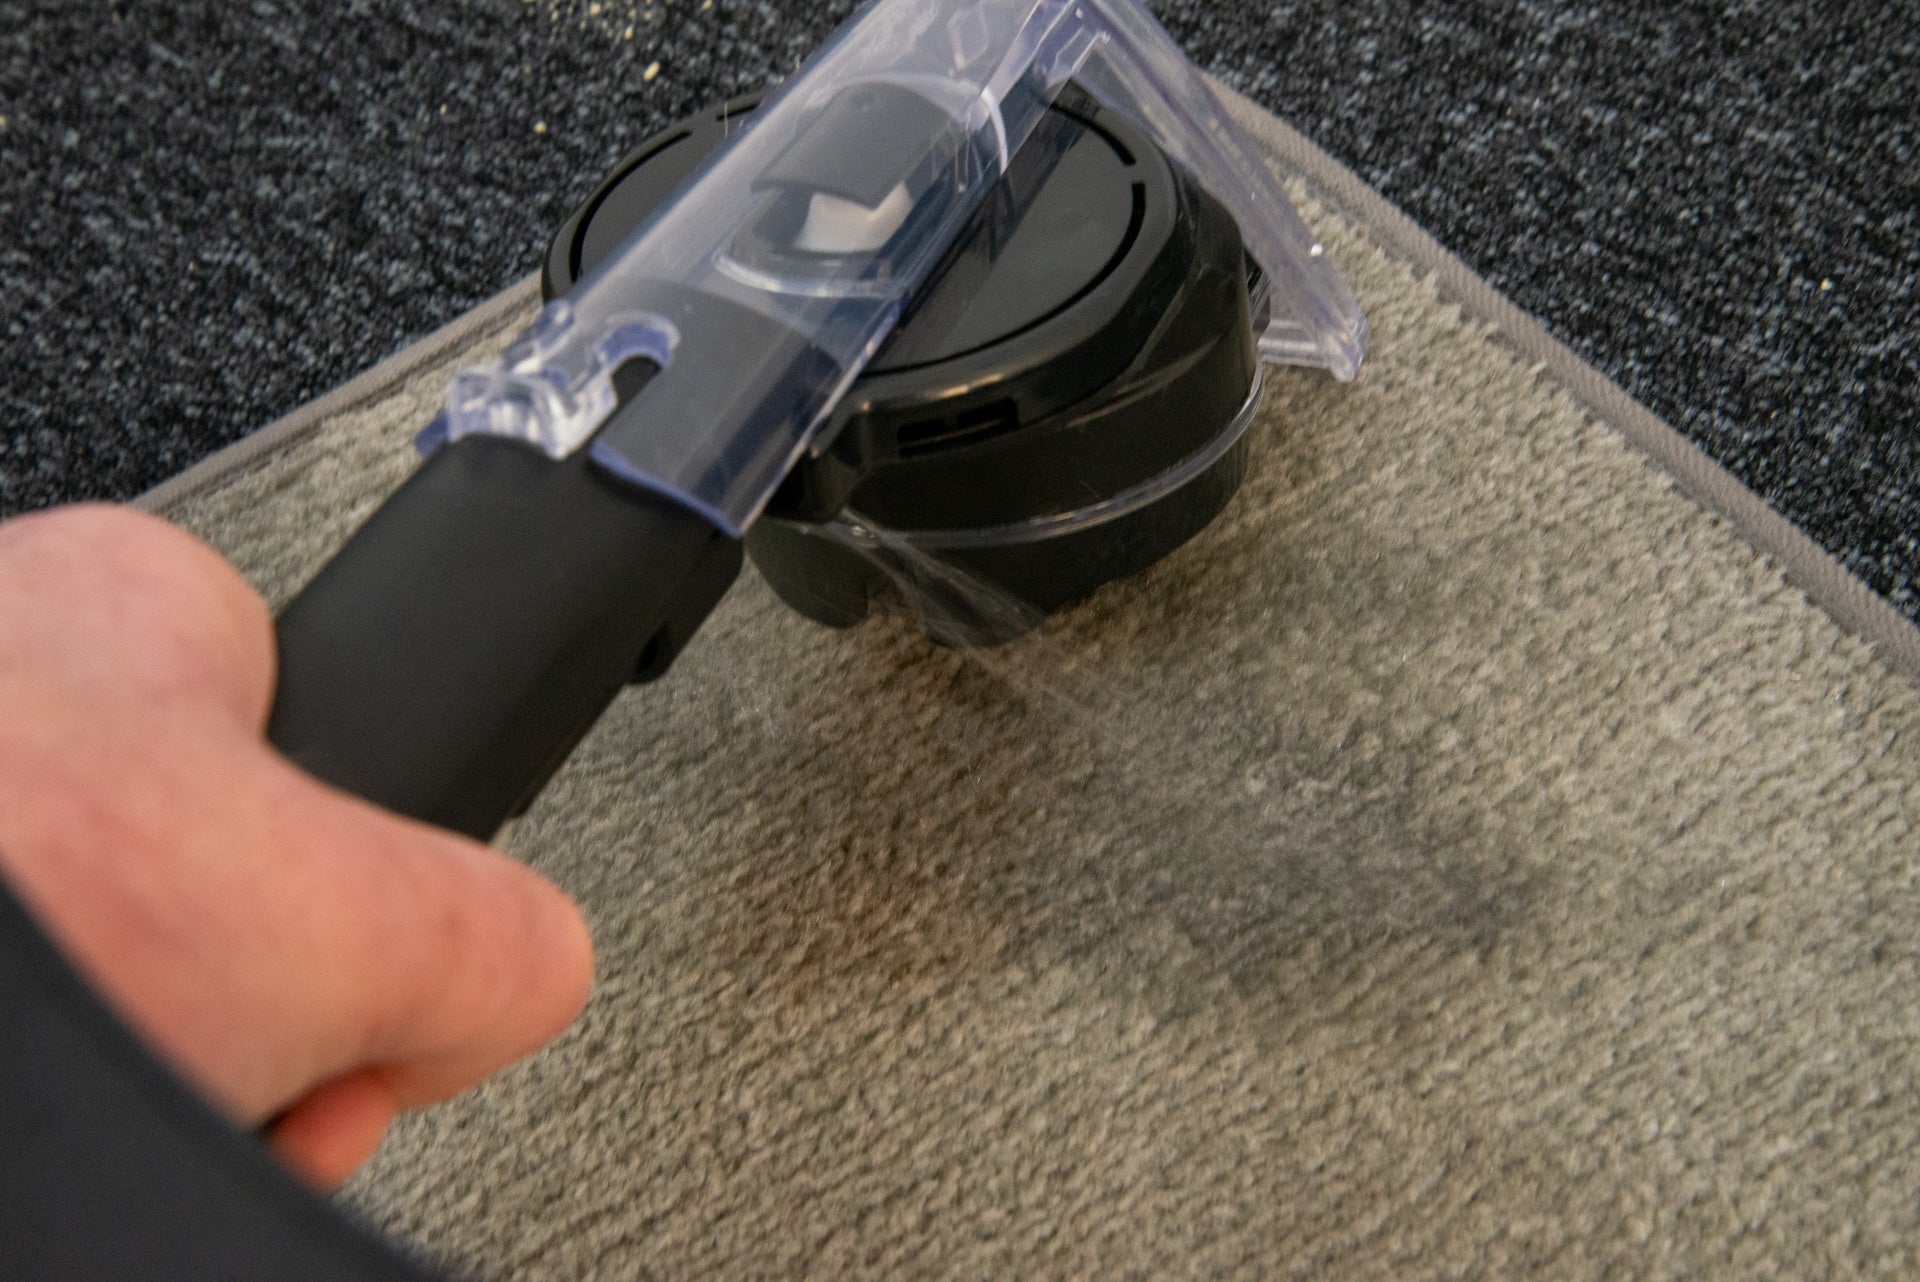
Seasonal Spruce Up: When the Going Gets Tough
- Baking Soda Magic: Give your doormat a baking soda spa treatment! Sprinkle a generous amount over the surface and let it sit for 30 minutes. Think of it as a magic powder, soaking up yucky smells and light stains like a champ. After 30 minutes, simply vacuum it up, and voila! Your mat will be feeling refreshed and ready to tackle more dirt.
- Heavy-Duty Cleaning: Feeling overwhelmed by the grime? No worries! If your doormat resembles a mud battlefield after a rainy season, you don’t have to wage a solo cleaning war. There are superheroes out there! Think your doormat is tougher than Superman? Think again! For really grimy doormats, professional cleaners are your best bet. Moisture and stain-resistant, these mats appreciate good mopping and light scrubbing. So, give yourself a break and let the experts handle the heavy lifting (or shall we say, scrubbing?). They have the equipment and expertise to tackle even the toughest grime.
- Let’s watch the video about How to Clean Door Mats
How to Clean Door Mats: Watch The Video
Bonus Tips for a Long-Lasting Door Mat:
- Location, Location, Location: Find a cozy spot for your door mat, out of the sun and the rain, where it can thrive.
- Rotate Regularly: To make your doormats last longer, switch them out with a backup every few weeks. This spreads the wear and tear, keeping both mats looking fresh.
- Welcome Winter: Swap your regular doormat for one made for snow and ice to avoid nasty falls!
- Don’t Be Afraid to Replace: Is your mat more welcome mat or farewell dirt? Time to say goodbye and hello to a new dirt-busting champion!
Aim for a conversational tone, like you’re chatting with a friend. It safeguards your floors, ensuring your carpets thrive for longer. So, grab your cleaning supplies and give your doormat the TLC it deserves!
How to Clean Door Mats: FAQ
Q: How often should I clean my door mat?
A: Think weekly shake-ups with a vacuum cleaner for general upkeep. For deeper cleaning, monthly is ideal. Tackle spills and stains ASAP to avoid permanent residents.
Q: How can I keep my door mat looking its best?
A: Rotate mats regularly, give them a sheltered spot, and use seasonal mats for snowy or icy weather. Don’t be afraid to replace worn-out ones for optimal dirt-trapping power.
Q: What’s the best way to clean a coir doormat?
A: Avoid excess water. Mix white vinegar and water, scrub with a stiff brush, then rinse and air dry flat in the shade. Baking soda can also absorb odors and light stains.
Q: How do I clean a rubber doormat?
A: Embrace the hose! Blast away dirt with a strong jet of water. For tougher grime, use mild dish soap and a stiff brush. Rinse thoroughly and air dry completely.
Q: What should I do with a heavily soiled doormat?
A: Consider professional cleaning services. They have the expertise and equipment for deep cleaning and restoring even the dirtiest mats.
Q: How can I make my doormat last longer?
A: Rotate mats regularly, place them in sheltered areas, and use seasonal mats for snow and ice. Don’t hesitate to replace worn-out mats for optimal dirt-trapping.
Q: Where can I find more doormat cleaning tips?
A: This guide is just the beginning! Wanna dive deeper? Need more cleaning magic? Our blog overflows with step-by-step guides for even the trickiest stains. For deeper dives, specific care tips, and DIY solutions, visit our blog!

